Single sign-on (SSO)
Connect OpsPing to your corporate identity provider over OIDC and your team signs in through Okta, Microsoft Entra ID (Azure AD), or Google Workspace — with the account, suspension, and security policy you already enforce there.
- An admin account in OpsPing — configuring SSO is an admin action.
- An OIDC application registered in your identity provider, with its Issuer URL, Client ID, and Client Secret to hand. The redirect URI OpsPing expects is your console URL with the SSO callback path.
-
Open the SSO settings
Go to Settings in the sidebar (under Account) and find the Single Sign-On (OIDC) section. It lists the providers OpsPing supports — Okta, Entra ID, and Google Workspace — any standards-compliant OIDC IdP works.

The OIDC section in Settings. Paste the three values from your identity provider's OpsPing app and save. -
Enter your provider details and save
Fill in the Issuer URL, Client ID, and Client Secret from the OIDC app you registered in your IdP, then click Save. OpsPing verifies the configuration against the provider's discovery endpoint.
NoteThe exact steps to register the OpsPing app differ by provider — Okta, Entra ID, and Google Workspace each have their own admin console. Use your provider's "register OIDC application" flow, point the redirect URI at your OpsPing callback, and copy the resulting issuer, client ID, and secret back here.
-
Sign in with SSO
Once configured, the sign-in page shows a Sign in with SSO option below the email/password form. Clicking it asks for your team slug, then redirects to your identity provider. After you authenticate there, you're sent back to OpsPing already signed in.
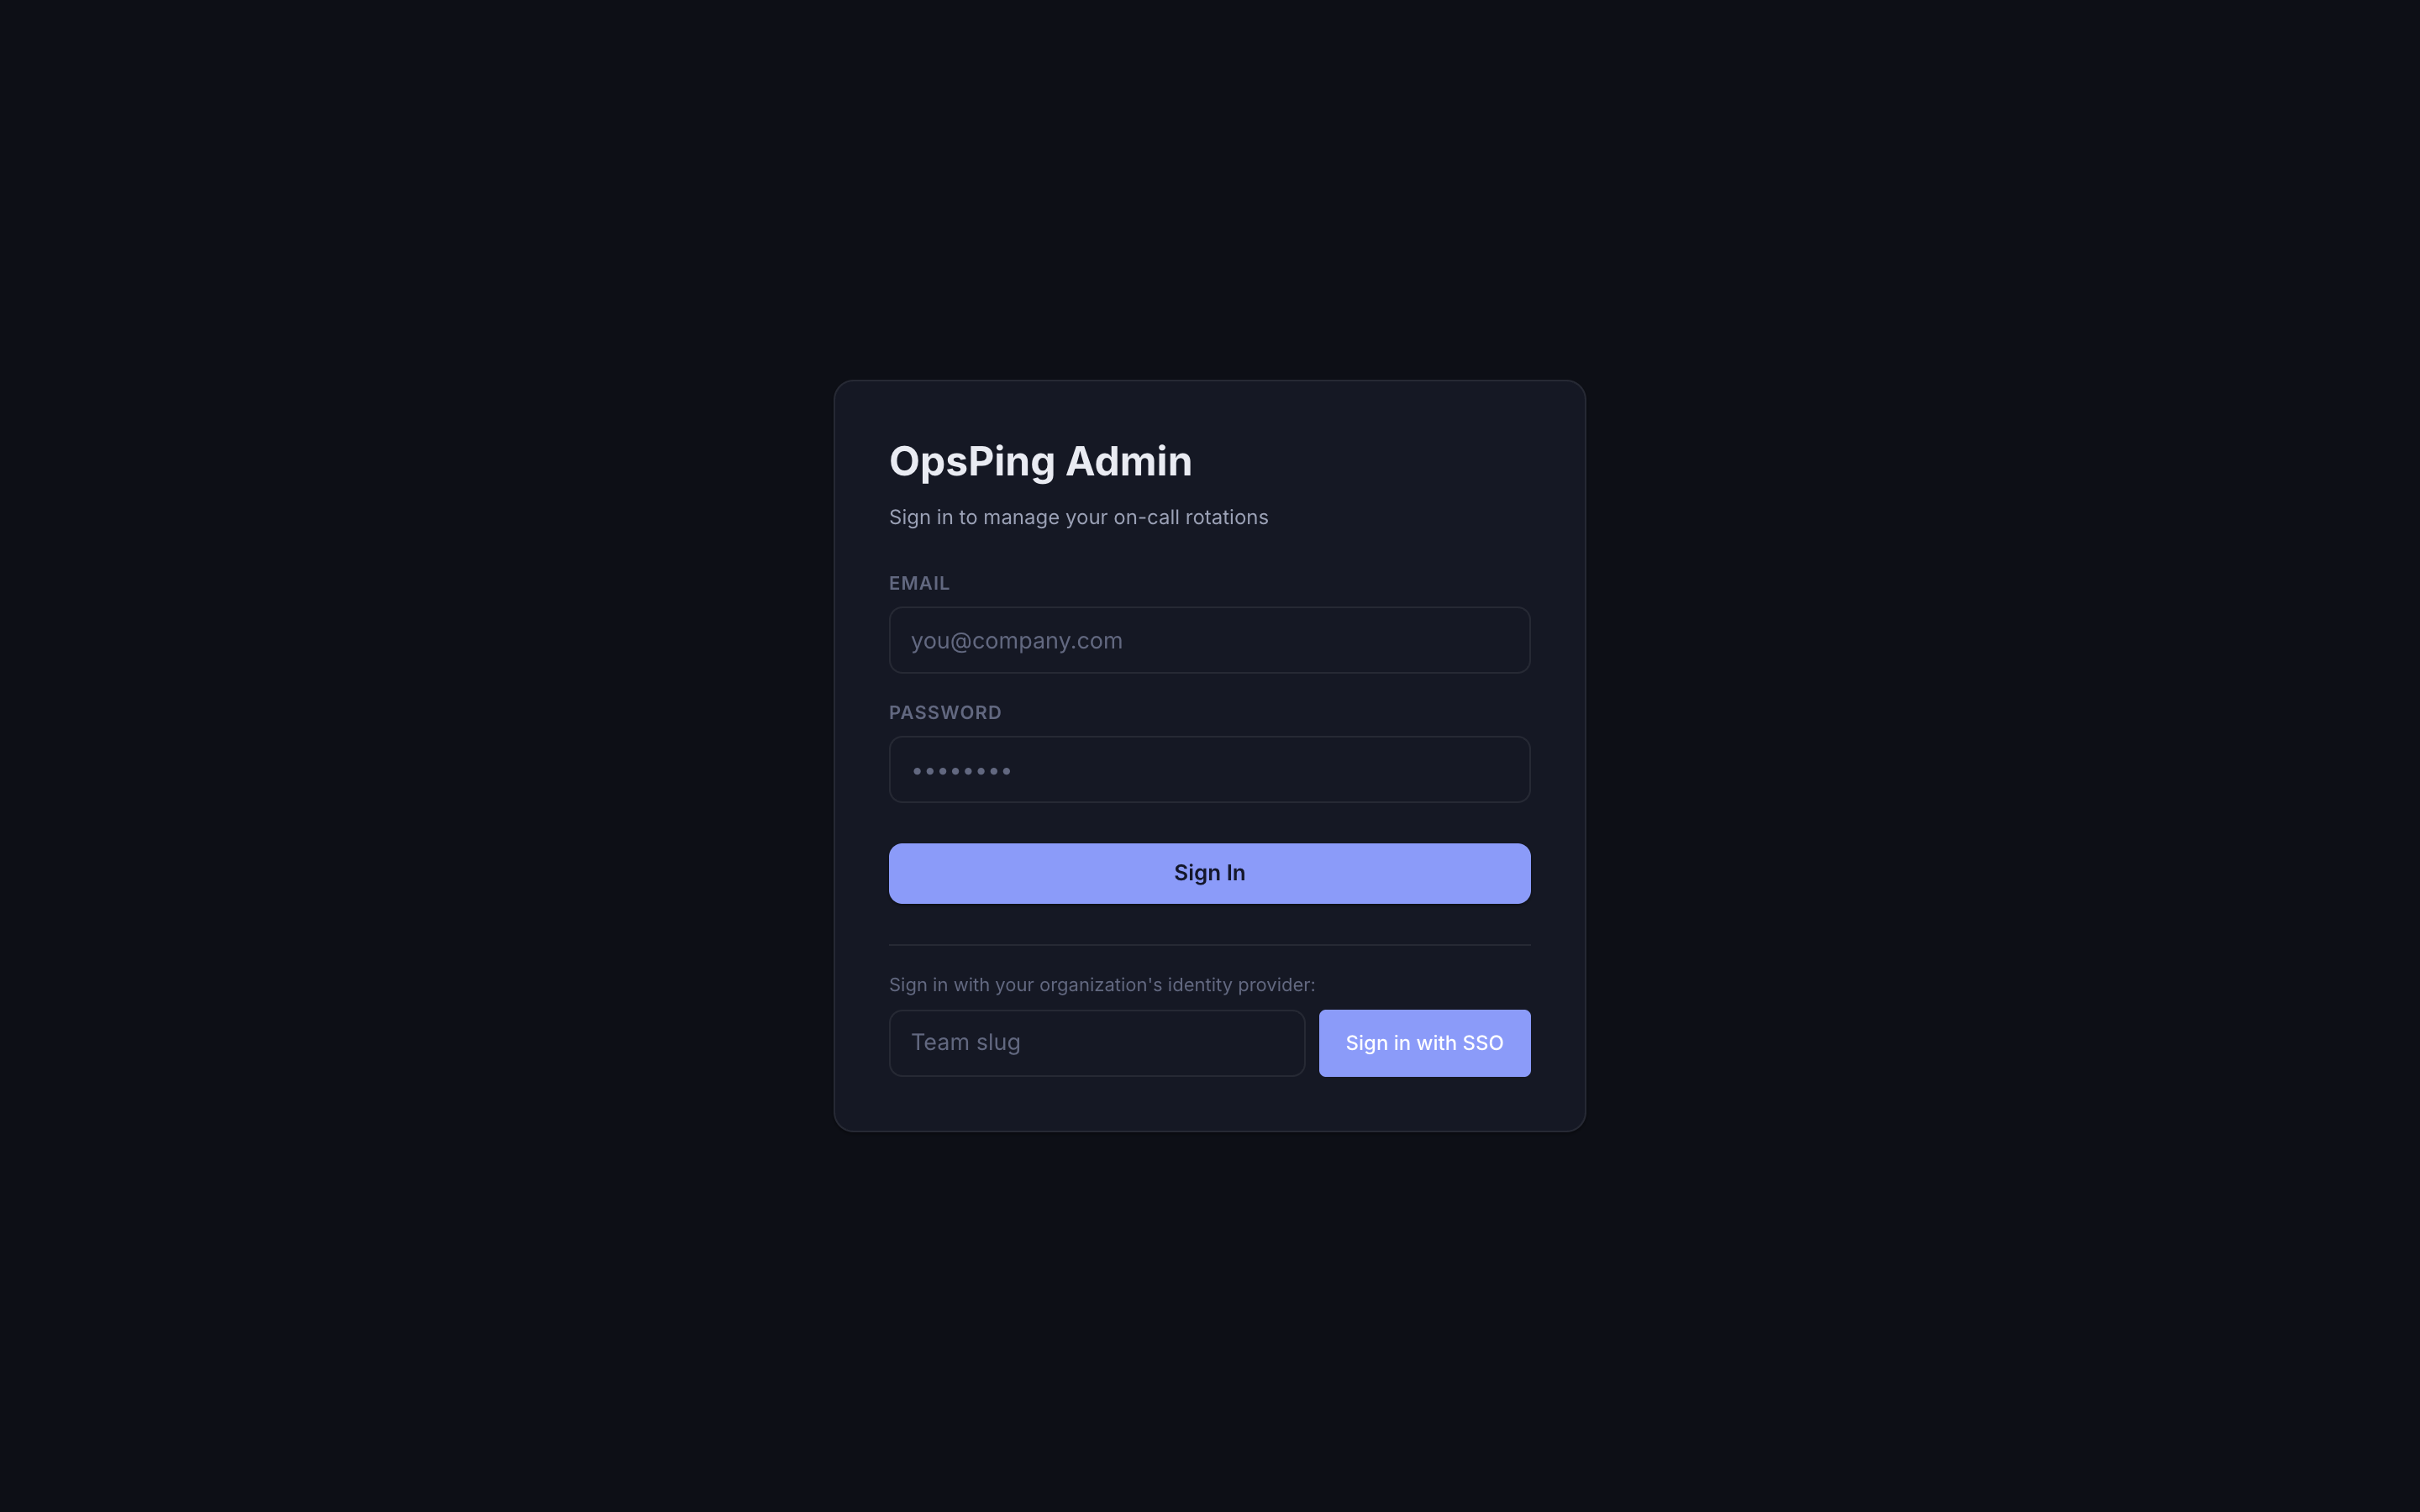
With SSO configured, the sign-in page gains a Sign in with SSO option. Email/password sign-in stays available as a fallback. TipEmail and password sign-in still work after SSO is enabled, so you don't get locked out if the provider has an outage. Disable the fallback only if your security policy requires SSO-only access.